How to Look More Attractive in Photos: The Complete Guide to Being Photogenic
Last updated January 28, 2026 by WouldSwipe Team
Master the art of looking your best in every photo, from professional headshots to casual selfies.
Whether you're updating your dating profile, preparing for a professional headshot, or simply want to feel more confident when the camera comes out, learning how to photograph well is a skill anyone can develop. This guide covers everything from understanding why some people seem naturally photogenic to mastering specific techniques that will transform how you appear in pictures.
Why Some People Look Better in Photos Than Others
Before diving into techniques, it's helpful to understand what's actually happening when a camera captures your image. Photography is fundamentally different from how we perceive faces in real life.
When you look at someone in person, you see them in three dimensions, in motion, with subtle shifts in expression and posture. A photograph freezes a single moment in two dimensions. This means that certain angles, expressions, and lighting conditions that look perfectly normal in motion can appear awkward when frozen in time.
The good news? Looking photogenic isn't about having perfect features. It's about understanding how to present yourself in a way that translates well to a still image.
The Foundation: Lighting
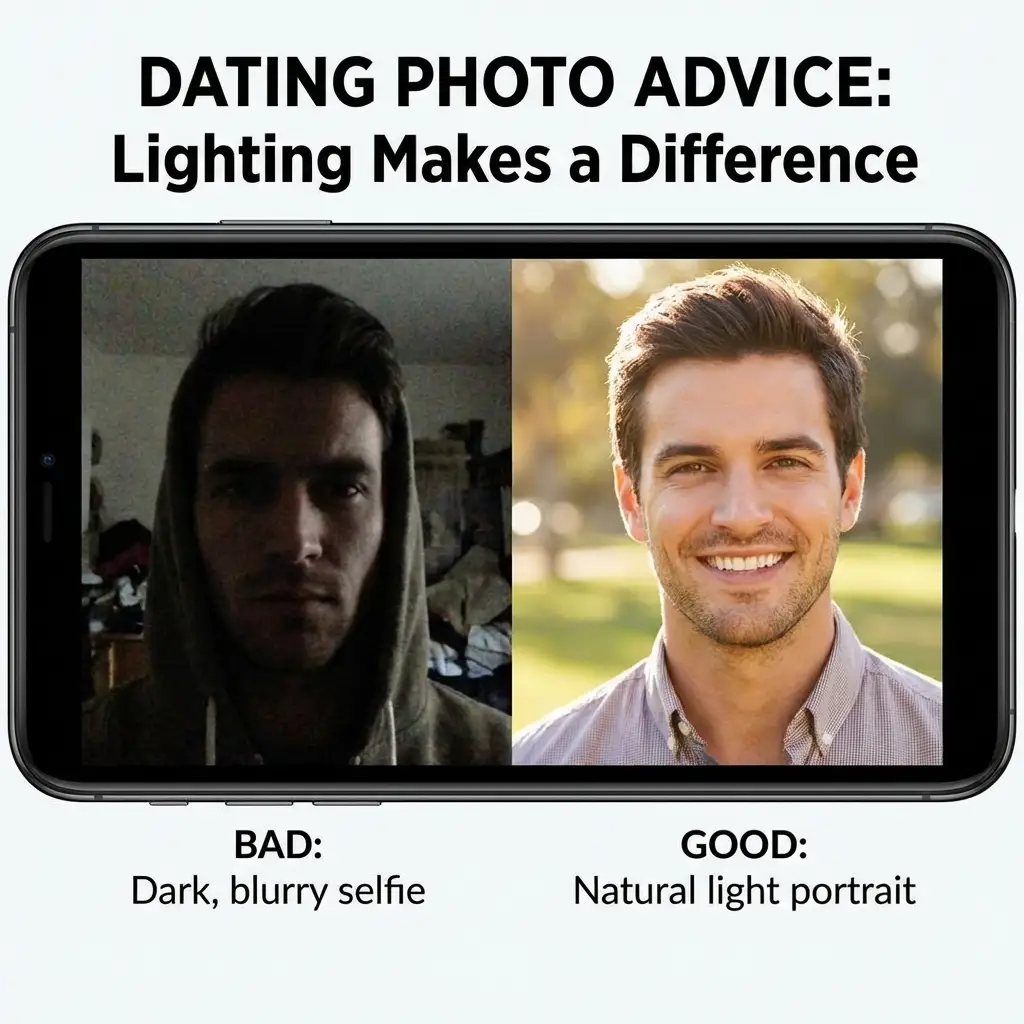
Lighting is arguably the single most important factor in photography. The same person can look dramatically different depending on how light falls on their face.
The Golden Hour Advantage
Photographers obsess over "golden hour" for good reason. This period shortly after sunrise and before sunset produces warm, diffused light that's universally flattering. The sun sits low in the sky, creating soft shadows and a warm glow that minimizes imperfections and adds dimension to faces.
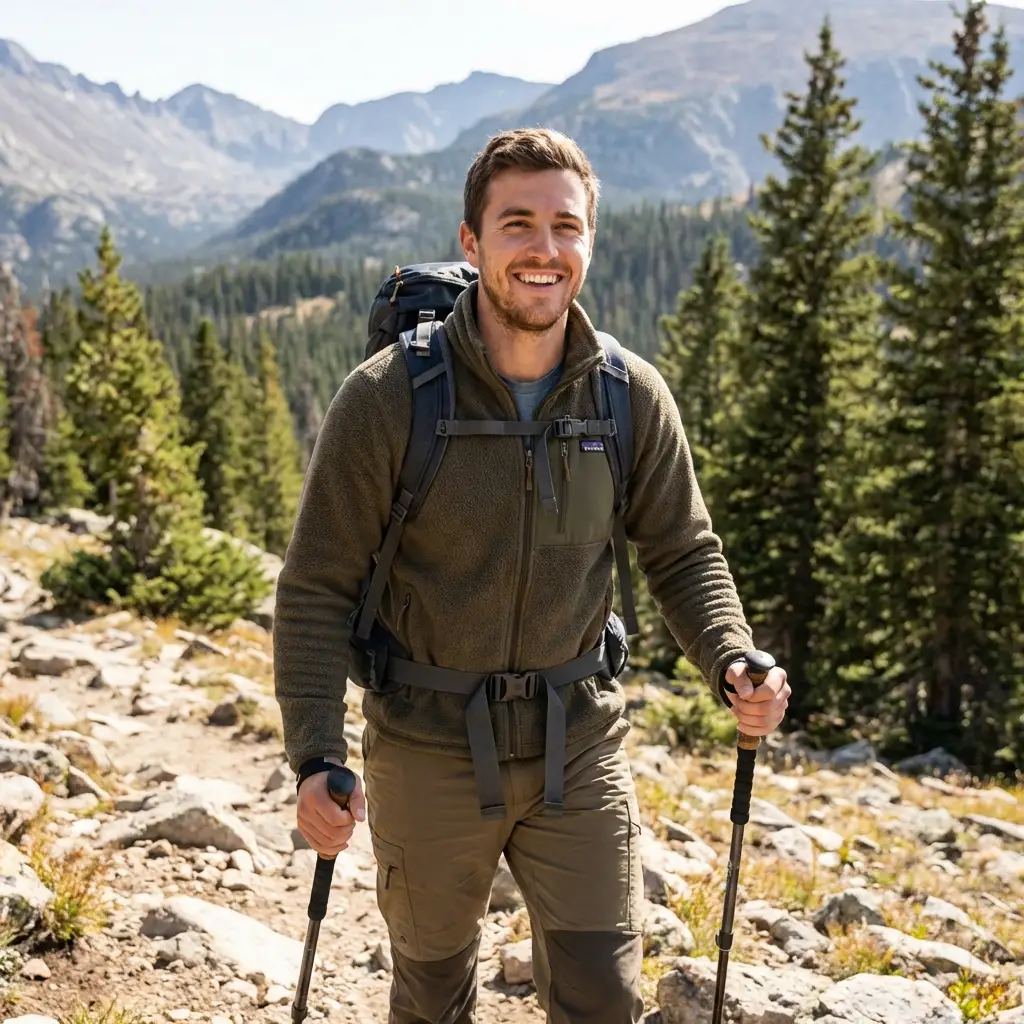
If you're taking photos outdoors, plan around these windows. Even smartphone photos taken during golden hour look remarkably better than those shot under harsh midday sun.
Working with Natural Light Indoors
When shooting inside, position yourself facing a window. This creates what photographers call "front lighting," which evenly illuminates your face and reduces unflattering shadows. Avoid standing with a window behind you, which creates backlighting that darkens your face and can cause squinting.
The ideal scenario is soft, indirect window light. A north-facing window (in the northern hemisphere) provides consistent, even illumination throughout the day. For south-facing windows, sheer curtains can help diffuse direct sunlight.
Avoiding Common Lighting Mistakes
Overhead lighting is particularly unforgiving. It creates shadows under your eyes, accentuates wrinkles, and can make you look tired or gaunt. This is why fluorescent office lighting rarely produces flattering photos.
Pro Tip: If you can't control the lighting, try tilting your chin up slightly to minimize under-eye shadows, or move to a spot where light hits your face more evenly.
Understanding the 20-60-20 Rule in Photography
The 20-60-20 rule is a compositional guideline that helps create visually balanced and appealing photographs, particularly portraits. The concept divides the frame into three zones based on visual weight and interest.
How the Rule Works
The top 20% of the frame typically contains background elements or negative space above your head. The middle 60% is where the primary subject—your face and upper body—should be positioned. This is where the viewer's eye naturally focuses. The bottom 20% provides grounding, usually containing shoulders, hands, or additional background elements.
Applying the Rule to Portraits
When someone takes your photo, ask them to frame the shot so your face sits within that middle 60%. Too much headroom (space above your head) makes you look small or insignificant. Too little makes the composition feel cramped and cuts off important elements.
For selfies, this rule translates to positioning your phone so your face isn't crowded against the top or bottom of the frame. Many smartphone cameras now include grid overlays that can help with composition.
Mastering Your Angles
Everyone has angles that photograph better than others. Professional models and actors spend considerable time discovering theirs. You can do the same with a little experimentation.
The Three-Quarter Turn
Almost universally, a slight three-quarter turn of the face photographs better than facing the camera head-on. This angle adds depth and dimension to your features while defining your jawline. Turn your face approximately 30 degrees to one side, then bring your eyes back toward the camera.
Finding Your Better Side
Most faces are asymmetrical, and often one side photographs better than the other. Take a series of photos from your left side, right side, and straight on. Compare them honestly. Once you identify your preferred side, make a mental note to present that angle when photos are being taken.
The Chin Position
The position of your chin dramatically affects how your face appears. Pushing your chin forward and slightly down elongates your neck and defines your jawline. This technique, sometimes called "turtling," feels unnatural but looks excellent on camera.
Avoid tucking your chin down toward your chest, which creates the appearance of a double chin even on thin faces. Similarly, lifting your chin too high can appear arrogant and exposes the underside of your nose.
The Art of the Expression
Your expression can make or break a photo. The goal is to appear naturally at ease rather than frozen or forced.
The Problem with "Say Cheese"
Standard advice to smile for the camera often produces stiff, unnatural results. When you consciously try to smile, you typically engage only the muscles around your mouth, creating what researchers call a "Pan Am smile"—named after the famously forced smiles of flight attendants.
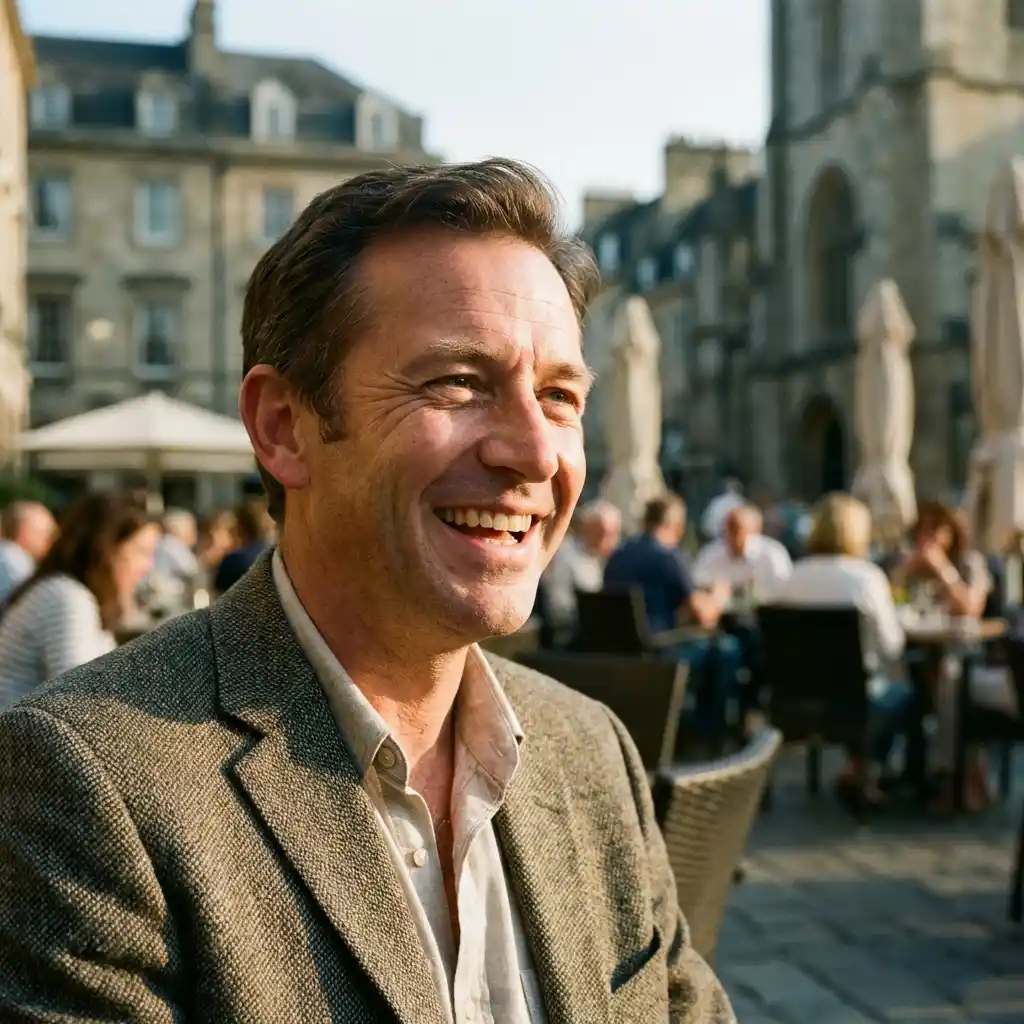
A genuine smile, called a Duchenne smile, involves the entire face, including the muscles around your eyes (creating "crow's feet"). You can't fake this by thinking about smiling, but you can trigger it by thinking about something genuinely amusing or pleasant.
The Squinch Technique
Portrait photographer Peter Hurley popularized the "squinch," a subtle narrowing of the lower eyelid that conveys confidence and approachability. To squinch, imagine you're looking at something in the distance and slightly squinting to see it better. The key is subtlety—you're lifting the lower lid slightly, not squinting fully.
This technique reduces the "deer in headlights" look that wide-open eyes create in photos. It makes you appear more confident and engaged. Check out our Dating Photo Masterclass for more facial expression tips.
Posing Your Body
How you hold your body communicates as much as your facial expression. Small adjustments can dramatically improve how you photograph.
The Standing Pose
When standing for a photo, avoid facing the camera with your shoulders squared directly toward it. This is the widest angle of your body and can make you appear larger. Instead, turn slightly to one side, shifting most of your weight to your back foot. This creates a slimming effect and adds visual interest.
What to Do with Your Hands
Hands are notoriously difficult to pose naturally. Avoid clenched fists, which convey tension, and straight fingers, which look rigid. Let your hands curve naturally, as if you're holding a large orange.
If you're unsure what to do with your hands, give them a purpose: hold something, rest them in pockets (leaving thumbs out), place one hand on your hip, or simply let them hang at a slight angle from your body.
Not sure if your pose is working?
Test your photos on WouldSwipe and get honest feedback from real people.
Test My PhotosClothing and Grooming Considerations
What you wear and how you're groomed significantly impacts your appearance in photos.
Colors That Photograph Well
Solid colors generally photograph better than busy patterns, which can distract from your face or create visual noise. Deep, saturated colors like navy, burgundy, forest green, and charcoal tend to be universally flattering.
Be cautious with pure white and pure black. White can wash out in bright light or create harsh contrast, while black can cause you to appear to blend into shadows. Off-whites, creams, and dark grays often work better.
Fit and Silhouette
Well-fitting clothing photographs better than loose or overly tight garments. Clothes that are too large can make you appear shapeless, while anything too tight emphasizes bulges and creates unflattering lines.
Technical Tips for Better Photos
While professional photographers understand camera settings, knowing a few technical basics can help even when you're the subject.
Understanding Flash
Direct, front-facing flash is rarely flattering. It flattens features, creates harsh shadows, and can cause red-eye. When possible, use natural light or ask the photographer to bounce flash off a ceiling or wall for softer illumination.
Smartphone Selfie Strategies
Selfies present unique challenges and opportunities. You're simultaneously the photographer and the subject.
- Phone Position: Hold your phone at arm's length, slightly above eye level. This minimizes distortion.
- Using a Timer: Use your phone's timer to position yourself properly without the awkward reaching gesture.
- Rear Camera: Use the rear camera for higher quality images, even if you can't see the screen.
Putting It All Together
Looking more attractive in photos isn't about deception or pretending to be someone you're not. It's about presenting yourself accurately while accounting for the particular demands of photography as a medium.
The fundamentals are simple: good lighting, flattering angles, natural expressions, and thoughtful posing. Master these elements, and you'll feel confident knowing that photos capture you at your best.
Start by implementing one or two suggestions from this guide. Experiment with lighting if you've never thought about it before, or try the three-quarter angle next time you're being photographed. Small improvements compound, and before long, being photogenic becomes second nature rather than a mystery.
The only way to know for sure which shots land is to test them with real people. If you've used photo-testing tools before, see how WouldSwipe compares to Photofeeler for dating photos.
Quick Reference: Photogenic Essentials
- Lighting: Face your light source, prefer soft natural light.
- Angles: Turn face slightly to one side, push chin forward and down.
- Expression: Think of something pleasant, squinch slightly, relax your face.
- Posing: Angle body slightly, keep arms away from torso.
- Technical: Use burst mode, wait for focus, avoid direct flash.